
 Bookmark
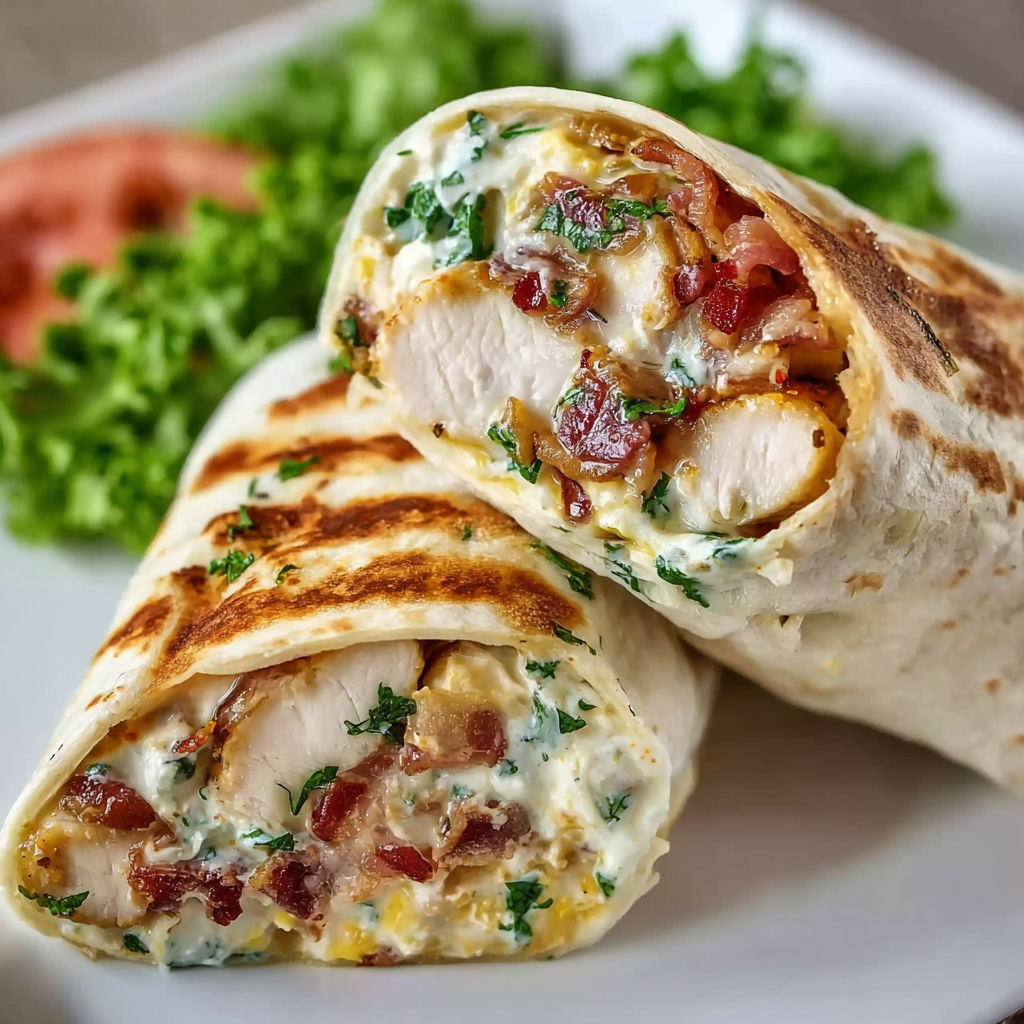
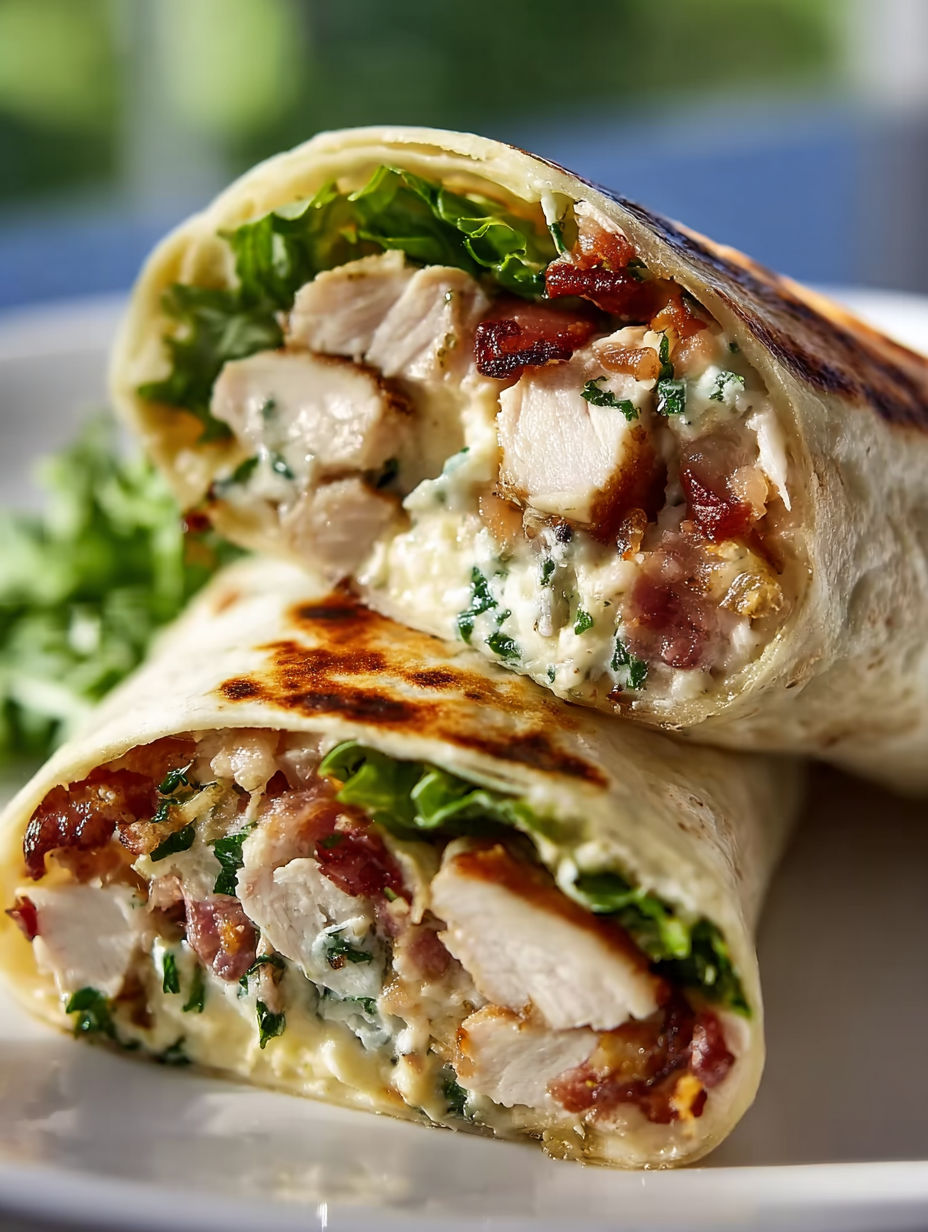
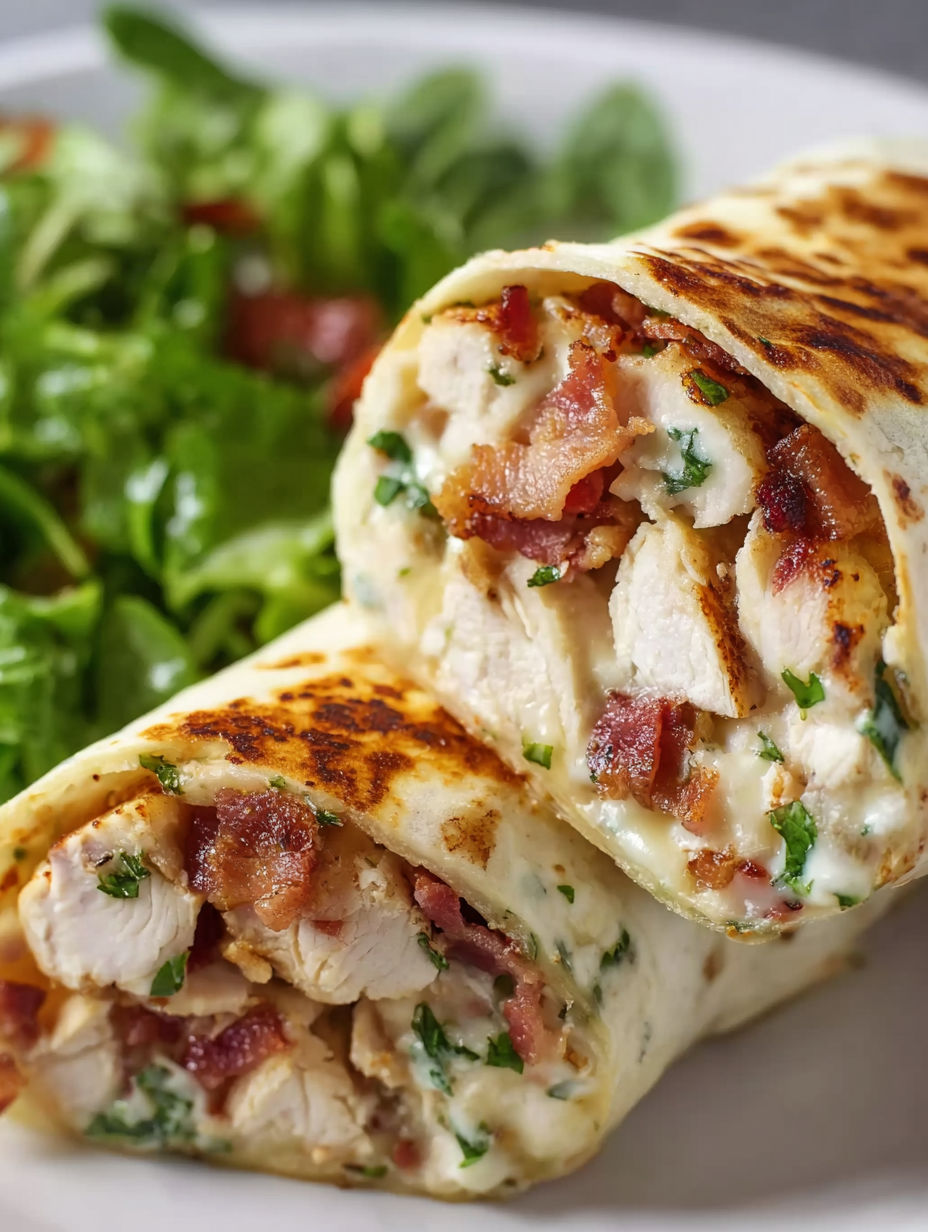
Cheesy Garlic Chicken Wraps with Bacon swoop in when dinner needs to happen fast but everyone’s craving something cheesy and handheld. I first whipped these up on a chaotic Thursday with a leftover roast chicken and barely any energy and now they’re a regular fix when only gooey cheese bacon and garlic in a crispy wrap will do. If you have some cooked chicken in the fridge and a frying pan you can be eating these in under 20 minutes and odds are your people will cheer.
I first made these when dinner needed to happen fast and honestly we never looked back. It goes over especially well if you have hangry people lurking and need something everyone will eat no complaints and it is much tidier to eat than my usual melty sandwiches.
Ingredients
- Cooked chicken: about two cups shredded or chopped great for using up leftover roasted poultry
- Shredded cheese: use cheddar for good flavor or swap in mozzarella jack or Red Leicester whatever is in the fridge works
- Large tortillas: flour or whole wheat sturdy enough to hold the filling together so avoid super thin wraps
- Bacon: ideally crisp 4 to 6 strips broken up for smoky salty bursts in every bite
- Butter: soft about two tablespoons for making garlicky richness
- Garlic: fresh and minced two cloves or use garlic powder if that is what you have
- Fresh parsley: a handful chopped for bright color and herby lift totally optional
- Salt and pepper: season to taste but go easy with salt since the bacon brings plenty
- Look for cheese that melts well avoid overly dry pre-shredded bags for best oozy results. If you can get bakery-fresh wraps or tortillas they hold together much better than bargain brands.
Instructions
- Melt the Garlic Butter:
- Melt butter over medium low heat in a small skillet and add the minced garlic. Stir gently and watch closely letting them sizzle together for about a minute until fragrant and just turning golden. Take care not to let the garlic burn or it will taste bitter.
- Combine the Filling:
- In a big mixing bowl toss in the shredded chicken half the cheese the garlic butter with all the garlicky bits crumbled bacon some parsley and a bit of pepper. Mix until evenly combined. Taste for salt but if your bacon is salty you might need little or none.
- Fill and Fold the Wraps:
- Lay out the tortillas and spoon roughly a quarter of the chicken mix down the center of each. Sprinkle the rest of the cheese on top. Fold the bottom of each tortilla up over the filling then fold the sides in and roll tightly aiming to keep the filling enclosed.
- Crisp the Wraps:
- Heat a large frying pan or a sandwich press on medium heat. Place the wraps seam side down into the hot pan working in batches if needed so you do not crowd them. Cook each for two to three minutes until golden brown then carefully flip and cook the other side another two minutes for extra crispiness and melty centers.
- Cool Briefly and Serve:
- Let the hot wraps cool for at least a minute before cutting so the cheese does not spill out and burn you. Then slice in half or just bite right in napkins highly recommended.
My youngest started requesting these for birthday lunches and now it’s a bit of a family tradition every March which always makes me smile.
Storage Tips
Keep any leftover wraps in an airtight container in the fridge for up to two days. Reheat in a dry frying pan or the oven for crunch or use the microwave for a softer wrap. They are rarely left uneaten more than a day in my house.
Ingredient Substitutions
Use rotisserie chicken turkey or leftover roast chicken. Mozzarella or Monterey Jack works if cheddar is missing. Skip bacon for a vegetarian version and add sautéed mushrooms. Tortilla swaps can include spinach or gluten free wraps as needed.
Serving Suggestions
Serve these wraps with potato chips pickles or a handful of veggies on the side. They are especially good with a crisp green salad if you want something lighter or with creamy tomato soup for cozy vibes. My son likes his with ketchup so make it your own.
Seasonal Adaptations
Use spring onions in place of parsley for a fresher note in early spring. Add a handful of baby spinach for extra greens in summer. Switch to smoked cheddar in autumn for deeper flavor. Mix in roasted winter squash for a seasonal veggie twist.
Let the cheese settle before biting in so you do not lose any gooey filling. These wraps turn dinner into a little comfort celebration every time.
Common Recipe Questions
- → What type of cheese works best for these wraps?
Cheddar adds punchy flavor, but feel free to use mozzarella, Monterey Jack, or any cheese you like. Mix and match for a unique taste.
- → Can I make these wraps gluten-free?
Yes, substitute regular tortillas with gluten-free wraps for the same melty, cheesy results.
- → How do I keep the wraps from falling apart while cooking?
Fold the sides tightly over the filling, roll up firm, and cook seam-side down first so they seal nicely in the heat.
- → Any recommended sides for serving?
These wraps pair well with chips, fresh salad, or a bowl of creamy tomato soup. They're delicious even solo!
- → Can I prepare these wraps ahead of time?
Yes! Assemble and refrigerate the wraps. Toast them in a pan just before serving for the best texture.
- → What if I don’t have leftover chicken?
Rotisserie chicken, roasted turkey, or even sautéed mushrooms as a vegetarian swap all work well for the filling.