
 Bookmark
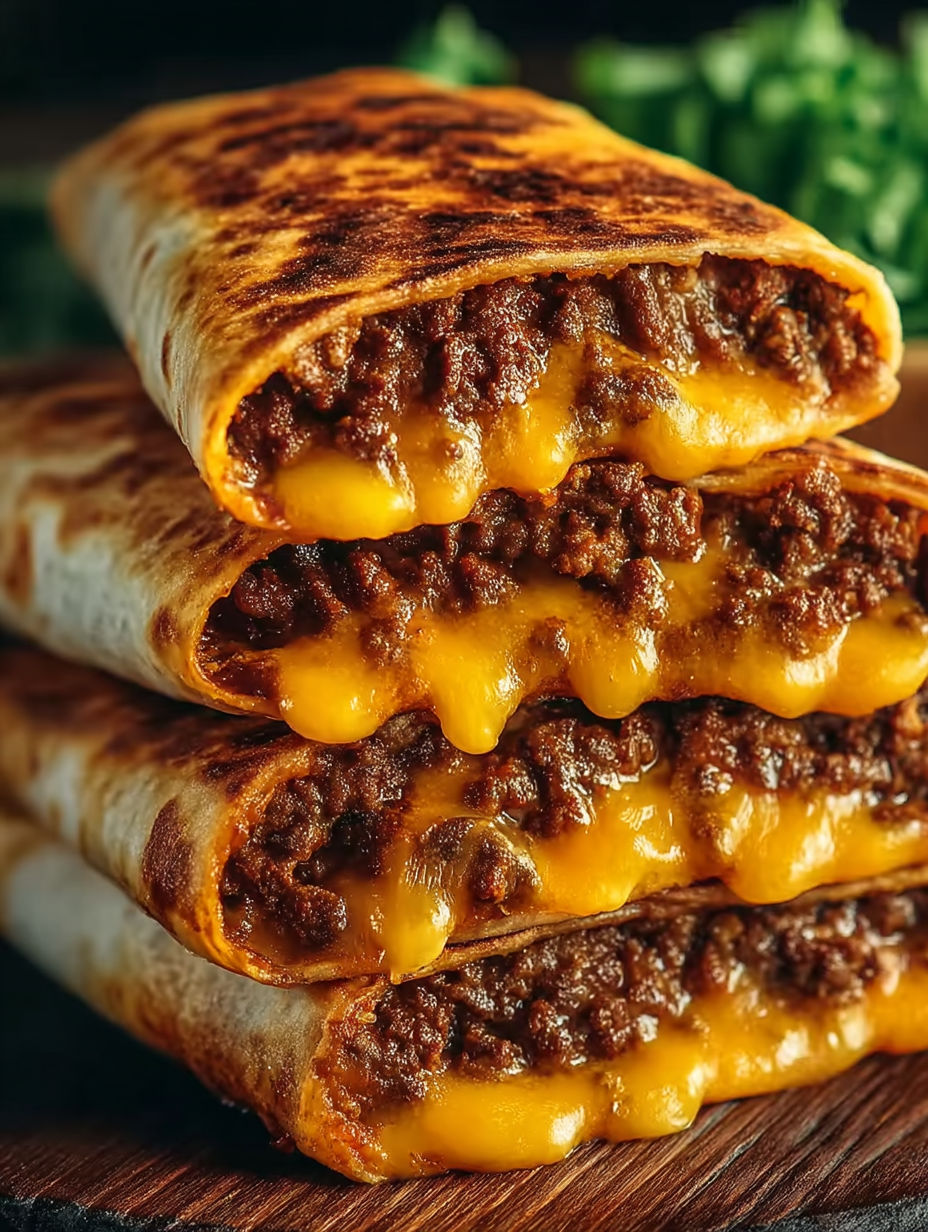
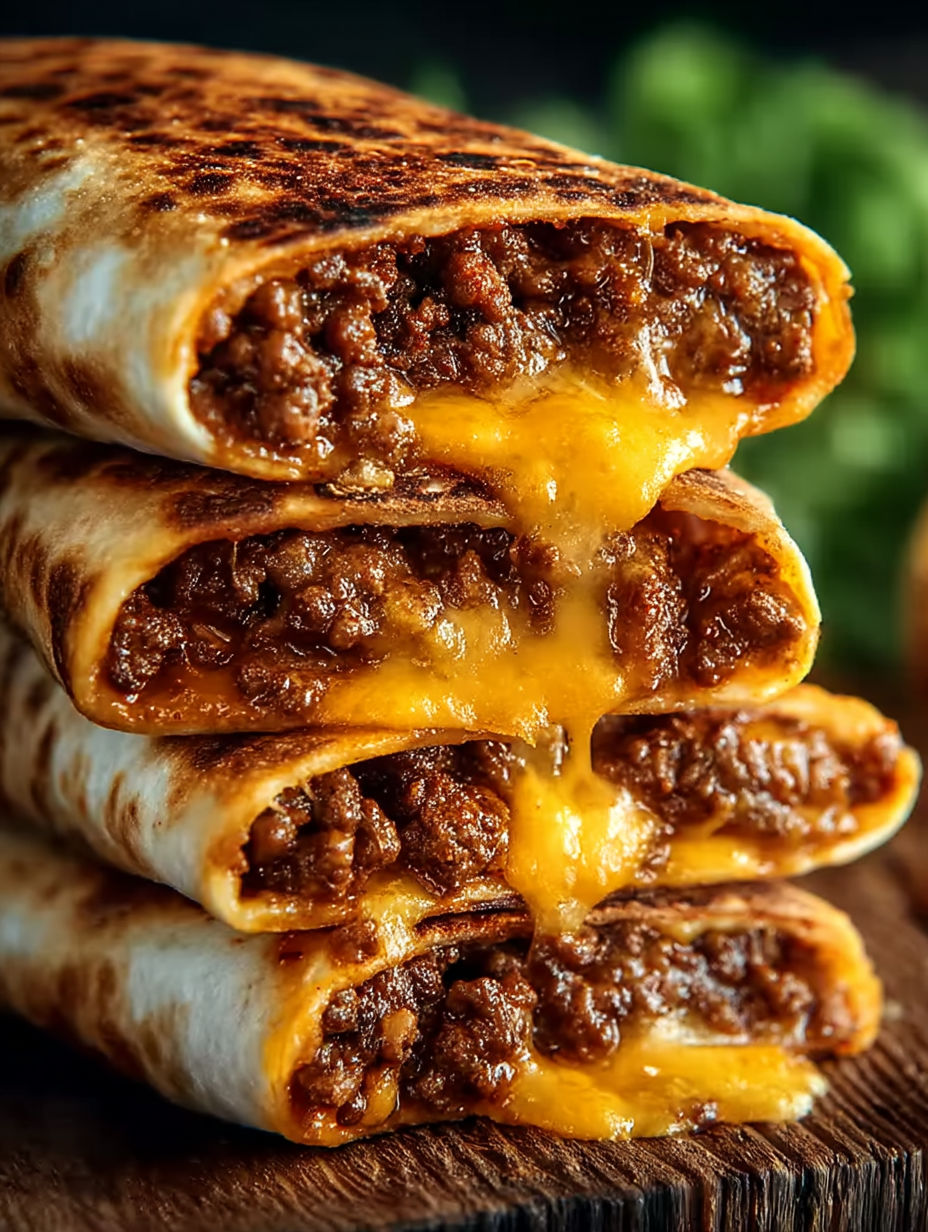
Warm tortillas stuffed with seasoned ground beef and a luscious mix of salsa and cream cheese then loaded with shredded cheddar make these cheesy pocket tacos irresistible The pockets bake to a perfectly crisp golden finish sealing in a rich creamy filling that hits all the right notes of savory tangy and cheesy Whether you need a quick dinner or a crowd pleasing snack these tacos deliver comfort and flavor wrapped into one satisfying bite
I first made these last spring when my neighbor’s kids popped over and everyone was hooked on the creamy cheesy filling Now they are a regular request for game nights and sleepovers a true crowd pleaser
Ingredients
- Ground beef: Brings hearty flavor and pairs beautifully with the creamy and spicy elements
- Taco seasoning: Adds that classic tangy taco flavor look for one without too much added salt
- Chunky salsa: Adds bright acidity and a little heat for extra texture
- Cream cheese: Softens the filling and helps everything bind choose full fat block style for the creamiest mix
- Shredded cheddar cheese: Melts perfectly for gooey richness using sharp cheddar boosts the flavor
- Soft fresh tortillas: Are key so they fold easily and crisp nicely without cracking
- Melted butter: Brushed on top creates a golden inviting crust
- Optional toppings: Like lettuce sour cream and olives let everyone customize their pockets choose crisp lettuce and real sour cream for freshness and creaminess
Instructions
- Cook the Beef:
- Brown the ground beef in a large skillet over medium high heat stirring often until no pink remains Break it up finely for an even texture Drain any excess grease to keep the filling from getting oily Sprinkle on the taco seasoning and add water as per package instructions Simmer until thick and most liquid has evaporated
- Make the Cream Cheese Mixture:
- Beat softened cream cheese with a mixer or whisk until very smooth and fluffy Stir in half a cup of salsa until the mixture turns creamy and streak free This helps bind everything and adds tangy moisture to the filling
- Prep and Assemble the Pockets:
- Preheat your oven to three hundred fifty degrees Fahrenheit Lay each tortilla flat and spread a generous spoonful of the creamy salsa mixture in the center Add a scoop of the taco seasoned beef and top with a handful of shredded cheddar Fold the sides over and roll tightly to form a neat pocket that holds all the filling inside
- Bake the Tacos:
- Place the pockets seam side down on a lightly greased baking tray Brush the tops lightly with melted butter to encourage browning Bake for about fifteen minutes or until the tortillas are golden and crisp
- Serve:
- Let the tacos cool a few minutes so the cheese inside can set slightly Serve with bowls of sour cream salsa extra cheese lettuce and olives so everyone can customize toppings to taste
Sharp cheddar is my favorite because it melts beautifully and adds bold cheesy flavor One of my favorite moments is watching my kids gather around the table each decorating their tacos however they like Some stick to the classic favorites while others pile on everything for added crunch and zing
Storage Tips
These pocket tacos keep well in the fridge up to three days Make sure they cool fully before storing in an airtight container To reheat and crisp up the tortilla warm them in the oven or toaster oven rather than the microwave For freezing wrap each pocket tightly in foil then place in a freezer safe bag
Ingredient Substitutions
Try ground turkey or chicken for a lighter version For dairy free options use plant based cream cheese and shredded cheeses If you like it spicy swap in a hotter salsa or add a pinch of cayenne Rotisserie chicken with some cumin and chili powder is also a delicious shortcut
Serving Suggestions
Serve with a big lime and avocado tossed salad to brighten the plate For parties cut each taco pocket into halves or quarters and arrange on a platter with small bowls of salsa and guacamole for dipping They also travel great in lunchboxes with a side of cold sour cream
These cheesy pocket tacos are perfect for weeknight dinners or parties Customize toppings to make them your own
Common Recipe Questions
- → How do I prevent tortillas from tearing while folding?
Warm the tortillas slightly before filling to make them more pliable and reduce cracking during folding.
- → Can I substitute the beef with another protein?
Yes, ground turkey, chicken, or plant-based crumbles work well as alternatives in these pockets.
- → What cheeses pair best inside the pockets?
Cheddar offers sharpness, while Monterey Jack, pepper jack, or mozzarella provide varied melting textures and flavors.
- → Is there a way to make the filling spicier?
Add jalapeños, spicier taco seasoning, or use a hot salsa in the cream cheese mixture to increase heat.
- → How can I keep the pockets crispy after baking?
Let pockets cool on a wire rack instead of a baking sheet so steam escapes, keeping bottoms crisp.
- → Can these pockets be frozen and reheated?
Yes, wrap each pocket in foil and freeze in a sealed bag. Reheat in the oven or toaster to maintain crispness.