
 Bookmark
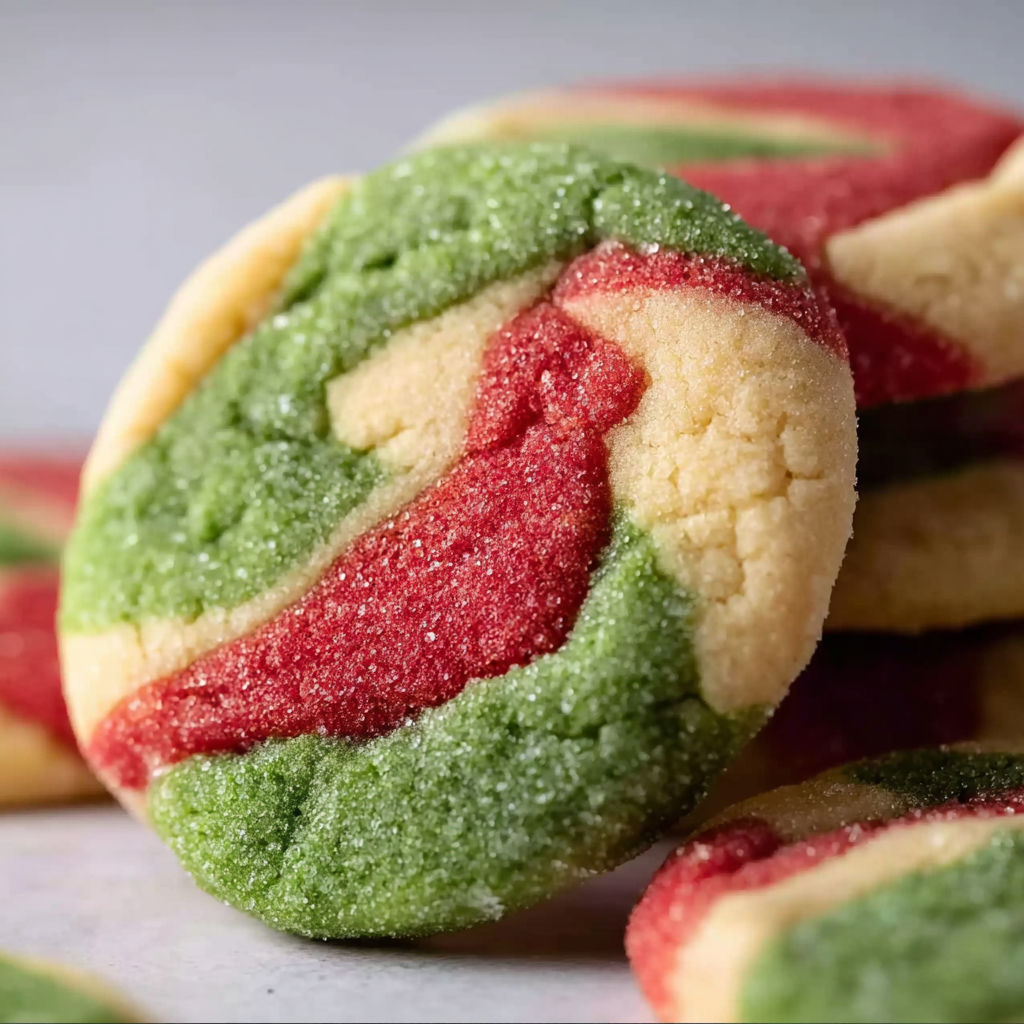
This marbled Christmas sugar cookie recipe is a festive treat that combines soft and chewy textures with a stunning red white and green marbled pattern. It makes for a fun holiday baking project especially enjoyable when shared with kids who can help create the beautiful marble effect. These cookies bake quickly in less than 30 minutes making them perfect for holiday cookie boxes or a last-minute sweet gift.
I first made these on a chilly December afternoon with my family and they quickly became our go-to cookie for gifting and holiday parties. The joy of watching my kids squish the different colored doughs together added a whole new level of fun to baking.
Ingredients
- Butter softened: provides richness and helps keep cookies tender
- Granulated sugar: sweetens the cookies while contributing to softness
- Brown sugar: the secret weapon for extra softness and deeper flavor
- Large egg white: binds the dough while keeping it light
- Vanilla extract: classic flavor boost for sugar cookies almond extract can be added for extra festive notes
- All purpose flour: forms the cookie structure choose fresh flour for best results
- Baking soda: helps cookies rise and adds tenderness
- Baking powder: a small amount helps with slight leavening for a soft bite
- Salt: balances the sweetness for a well rounded flavor
- Red red gel food coloring: provides vibrant Christmas red without changing dough texture
- Moss green gel food coloring: perfect for a natural green that stays bright
- Gel food coloring: is ideal here because it keeps the dough consistency soft and silky unlike liquid food coloring which can make dough sticky
Instructions
- Sauté the Aromatics:
- Preheat your oven to 350 degrees F and line a baking sheet with parchment paper or a silicone baking mat to ensure your cookies won’t stick.
- Cream the Sugars and Butter:
- In a large bowl or stand mixer using a paddle attachment cream the softened butter with both granulated and brown sugar on medium speed until the mixture is light fluffy and creamy. This process aerates the butter to create a delicate texture in the final cookie.
- Add the Egg White and Vanilla:
- Add the egg white and vanilla extract to the butter mixture and mix again for about 30 seconds or until fully incorporated. The egg white helps bind everything while vanilla adds essential warm flavor.
- Mix Dry Ingredients:
- In a separate bowl whisk together the all purpose flour baking soda baking powder and salt. Slowly add this dry mix to the wet ingredients mixing only just enough to combine so you do not overwork the dough. Over mixing results in tougher cookies.
- Divide and Color the Dough:
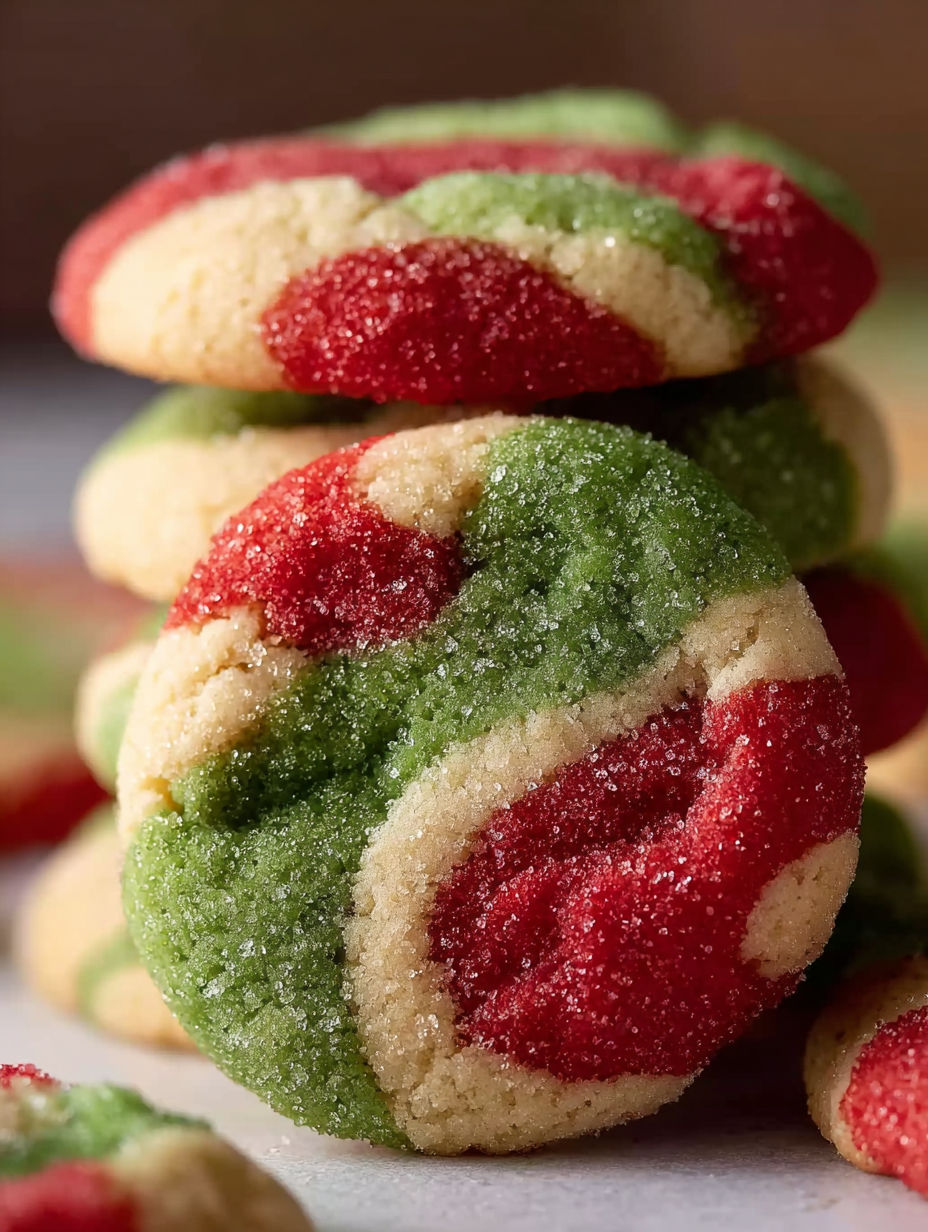
- Divide the dough evenly into three balls and transfer each ball into its own bowl. Leave one plain and tint the other two with red red and moss green gel food coloring using about an eighth of a teaspoon for each. Use a spoon or clean hands wear gloves if possible to knead the color evenly through the dough to create vibrant bright shades.
- Form the Marbled Cookies:
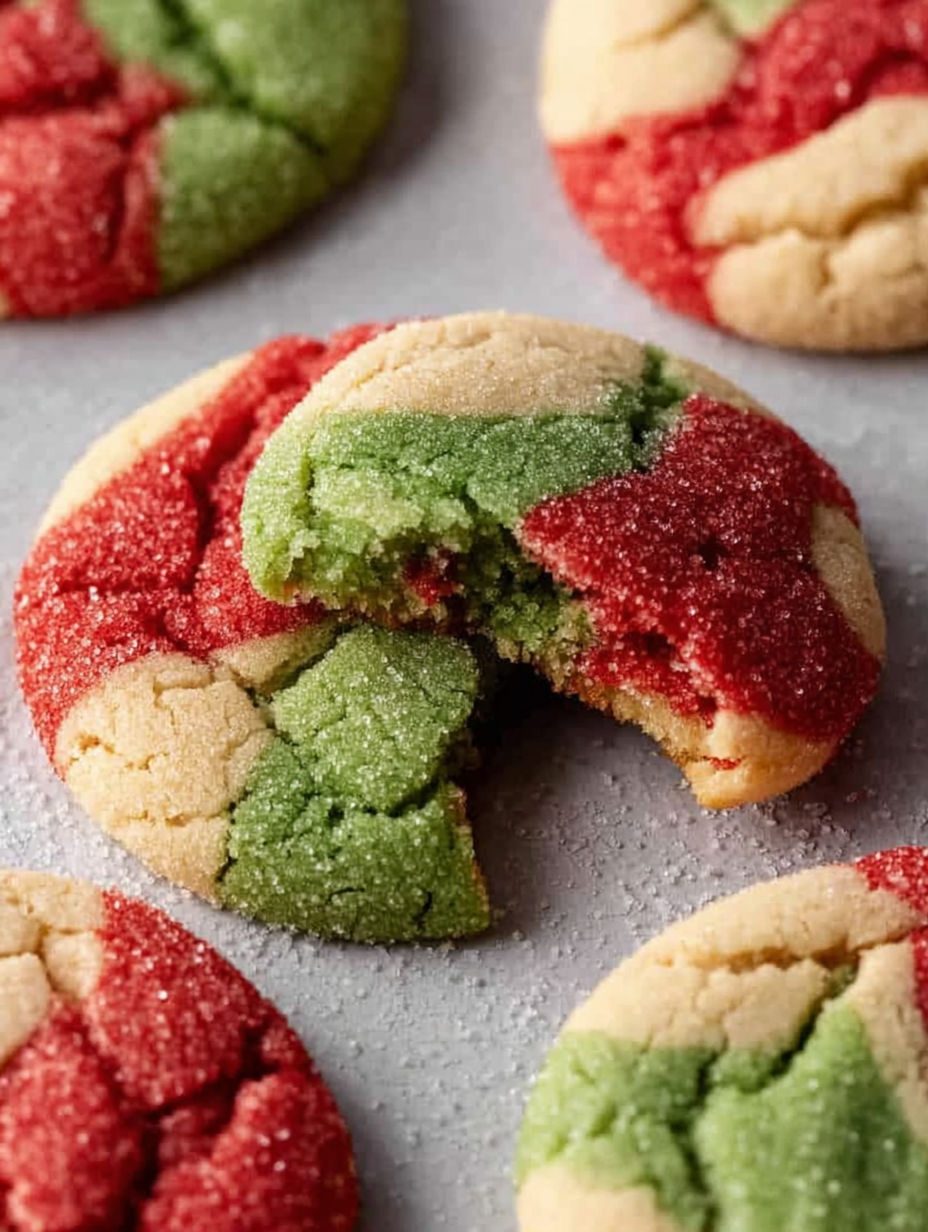
- Take a teaspoon sized portion from each colored dough bowl and either press the three portions gently together in your hand then roll into a ball or slice each portion smaller and layer randomly before rolling lightly. This technique creates the beautiful marbled pattern when the cookies bake.
- Bake and Cool:
- Place the marbled dough balls onto the prepared baking sheet spacing them well apart. Bake in the preheated oven for exactly seven minutes to keep them soft and chewy. Remove and allow them to cool on the sheet for five minutes before transferring to a wire rack to cool completely.
- Enjoy:
- Serve with a tall glass of skim or whole milk or arrange on a festive plate for holiday sharing.
My favorite part of this recipe is the brown sugar addition which gives the cookie that tender chewy bite and warm caramel undertone. It’s those little details that turn a simple sugar cookie into something extraordinary. I remember the first Christmas I made them and the whole family was impressed not only by how they looked but by how they tasted. It quickly became a holiday tradition.
Storage Tips
Store your baked cookies in an airtight container at room temperature for up to three days to retain softness. For longer storage refrigerate for up to a week or freeze for several months. If freezing dough balls pre portion them on a parchment lined tray and freeze solid before transferring to an airtight container. This makes baking fresh batches easy and fun well into the season.
Ingredient Substitutions
Butter can be swapped for a high quality margarine but it may slightly alter the flavor. Brown sugar is essential here for softness so if you must substitute use dark muscovado sugar for a similar effect. You can replace vanilla extract with almond extract or a combination of both for a more festive flavor profile. Gel food coloring is best but if you only have liquid color use it sparingly to avoid sticky dough.
Serving Suggestions
These cookies are perfect with a glass of cold milk or a warm cup of cocoa. Arrange them on a festive cookie platter with other holiday treats for gatherings or gifting. Try sprinkling a bit of sanding sugar on top before baking for a sparkly finish that adds crunch.
These marbled sugar cookies are a festive simple treat to make with family. Enjoy gifting or sharing them throughout the holidays.
Common Recipe Questions
- → How do I achieve the marbled coloring on the cookies?
Divide the dough into three parts, dye one red, one green, and leave one plain. Combine small pieces gently to create the marble effect without fully mixing the colors.
- → What is the secret to soft and chewy sugar cookies?
Using brown sugar adds moisture and depth, giving the cookies a tender, chewy texture.
- → Can I prepare the dough ahead of time?
Yes, you can freeze individual dough balls on a parchment-lined sheet, then store in an airtight container for up to 3 months.
- → Should I roll these cookies in sugar before baking?
This depends on preference; rolling adds a crunchy edge but can dilute vibrant marbled colors.
- → How long do these cookies stay fresh?
Store in an airtight container at room temperature for up to 3 days or refrigerate for up to 7 days to maintain softness.
- → What type of food coloring works best?
Gel food coloring is preferred as it provides vibrant color without altering dough texture.