
 Bookmark
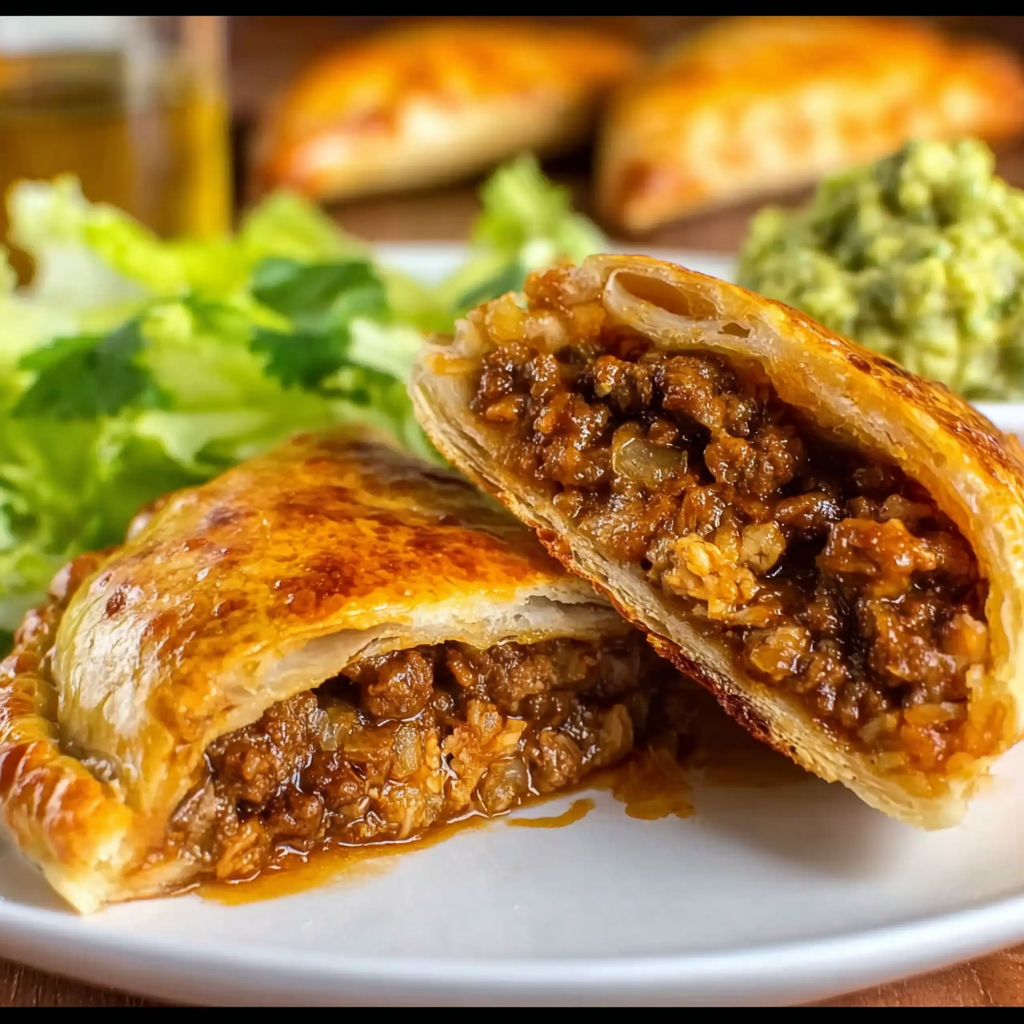
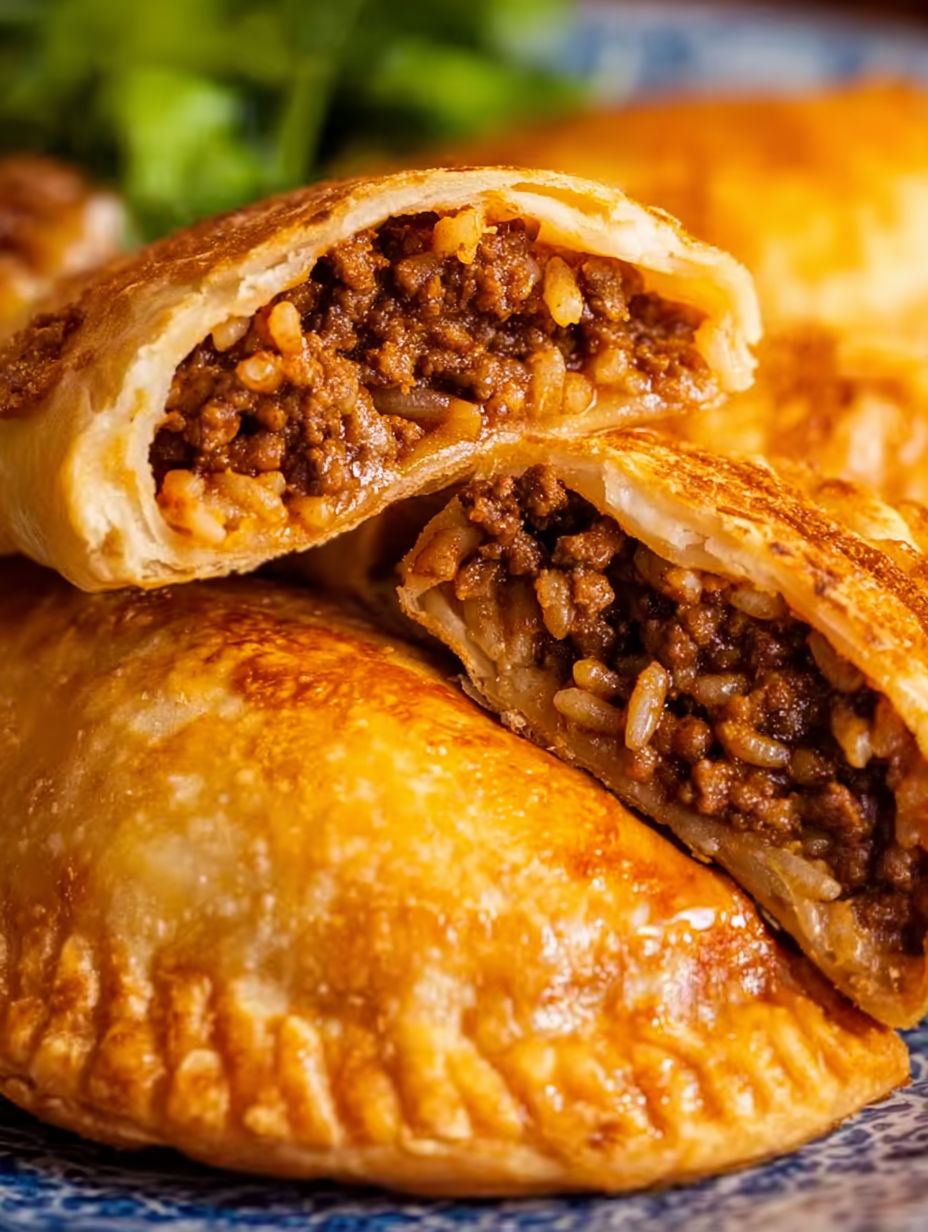
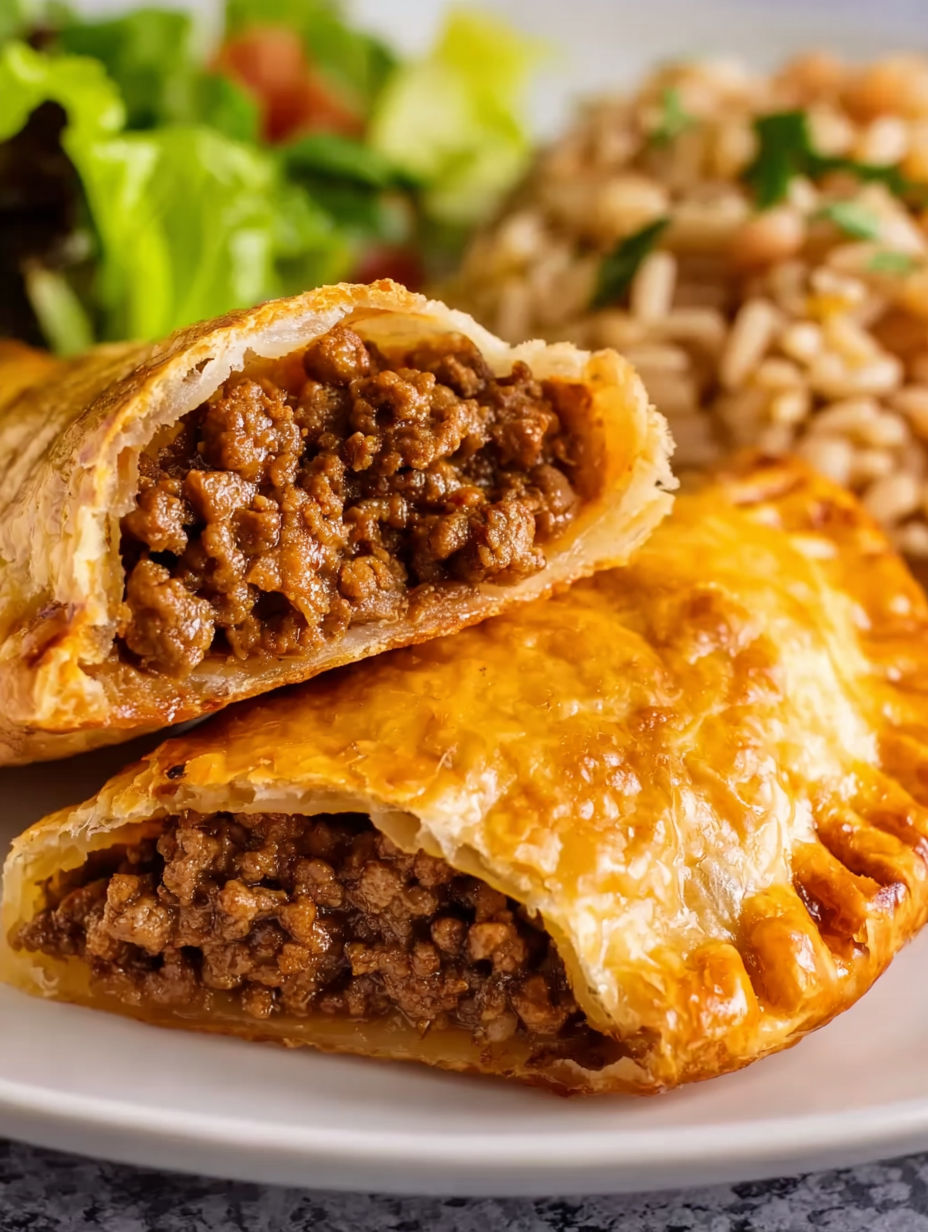
Taco Pockets make busy weeknight dinners a breeze with their hearty taco filling wrapped in biscuit dough. This crowd-pleaser gets crispy on the outside and melty inside with cheese and salsa, and comes together in just 30 minutes. The recipe is simple enough for kids to help and delicious enough to become a family favorite. You get all the flavors and satisfaction of tacos with a comforting twist that is easy to customize and perfect for picky eaters or big appetites.
I first made these for a last minute birthday slumber party and the kids kept asking for them again and again. The best part is seeing everyone assemble their own pocket and getting creative with the cheese.
Ingredients
- Ground beef: Adds a hearty base and familiar taco flavor in every bite Choose fresh lean ground beef for less grease
- Taco seasoning: Infuses the beef with warmth and a touch of spice Opt for your favorite store brand or make your own blend for more control over salt and flavor
- Water: Allows the seasoning to coat the beef evenly and helps thicken the filling Use fresh filtered water for cleanest flavor
- Salsa: Brings tang and tomato brightness plus moisture Pick a salsa you love in mild or spicy for your preferred kick
- Buttermilk biscuits: Create the classic soft yet sturdy pocket Go for the eight pack Grands style for best texture and ease of handling
- Monterey Jack cheese: Melts beautifully for that gooey gooey finish You can also use cheddar or a Mexican blend for sharper flavor
- Egg: Gives the crust a shiny golden finish on top If you skip the egg wash the flavor is still delicious but you miss out on that bakery look
Instructions
- Prep the Oven and Pan:
- Preheat your oven to three hundred seventy five degrees Fahrenheit. Line a baking sheet with parchment paper or lightly coat it with cooking spray to prevent sticking. This makes clean up easier and keeps the bottoms crisp
- Brown the Ground Beef:
- Heat a large skillet over medium high heat. Add the ground beef and break it up with a spoon as it cooks. Stir and continue cooking until fully browned with no pink remaining usually about five to seven minutes. Drain off all excess grease carefully for the best texture
- Season the Filling:
- Stir in the taco seasoning packet the measured water and half a cup of salsa directly into the beef. Mix well and reduce the heat to medium. Let the filling simmer and thicken for three to five minutes as you stir occasionally. Remove the pan from heat once the mixture is thick and saucy
- Flatten the Biscuits:
- Take each buttermilk biscuit and either use your hands or a rolling pin to flatten it into a circle about six inches across Place the rounds on a lightly floured surface so they do not stick This ensures you have enough space for the filling
- Fill and Cheese the Pockets:
- Spoon about one third of a cup of the taco beef mixture into the center of each biscuit round. Sprinkle a healthy pinch of the shredded cheese right over the meat. This gives each pocket the right balance of filling
- Seal the Dough:
- Carefully fold each biscuit round in half over the filling. Press the edges together firmly with your fingers. For extra security and a pretty look use a fork to crimp and seal the edges well so no cheese escapes
- Egg Wash and Arrange:
- Place the sealed pockets onto your prepared baking sheet with a little space in between. Lightly brush each one with beaten egg to give a glossy golden finish. This makes the crust look appetizing and bakery perfect
- Bake to Perfection:
- Slide the sheet into the preheated oven and bake for twelve to fifteen minutes. Watch for the tops and edges to turn golden brown and for the dough to be cooked through all the way
- Cool and Serve:
- Let the taco pockets rest for several minutes after baking so the filling sets and they are easier to handle. Serve while warm with extra salsa or sour cream on the side
The biscuit dough is my personal favorite in this recipe because it gets so pillowy and golden every time I bake these. I have fond memories of making these during football season and sneaking the extra cheese for my own pocket. There was never a single one left over.
Storage Tips
Store leftover taco pockets in an airtight container in the refrigerator for up to three days. Reheat in a toaster oven or conventional oven to help the crust crisp up again. These also reheat well in the microwave but may lose some of their crispness.
Ingredient Substitutions
You can swap ground beef for ground chicken or turkey easily Adjust cook time to ensure your filling is browned and fully cooked through If you like a bit more heat try a pepper jack cheese or a spicy salsa Any sturdy biscuit brand will work but the flakier types hold up best
Serving Suggestions
Serve these taco pockets with a fresh side salad Spanish rice or even crispy roasted vegetables Keep it simple for kids and let everyone dip their pockets into salsa sour cream or guacamole for extra flavor. These also work as a main dish for casual gatherings or lunchboxes.
Cultural Context
This recipe blends classic American biscuit dough with the bold flavors of Mexican inspired taco filling. It is a fun example of how comfort food can cross boundaries and become something a little playful and new. Growing up on tacos I loved making these for family nights because they felt special but familiar at the same time.
Seasonal Adaptations
In summer lighten the filling with corn fresh peppers or diced tomatoes In cooler months add some canned black beans or a pinch of chili powder for warmth If you have leftover cooked vegetables toss them in with the cheese for extra color and nutrition
Success Stories
I have heard from so many friends that their children love assembling and pinching the dough and no two pockets ever look exactly alike. These freeze perfectly as make ahead lunches or snacks and became my favorite back to school recipe to prep for those first busy weeks.
To freeze assemble the taco pockets as usual and place them unbaked on a sheet to freeze until solid. Then transfer to a freezer safe container. Bake straight from frozen at three seventy five for eighteen to twenty two minutes Checking for golden color and a piping hot center ensures best results.
Common Recipe Questions
- → Can I use ground chicken or turkey instead of beef?
Yes, you can substitute ground chicken or turkey for a lighter filling. The seasonings and salsa work well with both.
- → What type of cheese works best?
Monterey Jack, cheddar, pepper jack, or a Mexican blend all add great flavor and melt smoothly inside the pockets.
- → How can I add more vegetables?
Mix in black beans, corn, or diced bell peppers with the meat to increase the nutritious content and add texture.
- → What’s the best dipping sauce?
Salsa and sour cream are delicious for dipping. For extra flavor, try a creamy guacamole or spicy chipotle sauce.
- → How do I freeze and reheat the pockets?
Freeze the assembled, unbaked pockets on a tray, then store in a freezer bag. Bake from frozen or reheat in the oven or microwave until warmed through.
- → What dough can I use instead of biscuits?
Pizza dough or puff pastry can be used, but the texture may vary. Biscuits offer sturdiness and a fluffy bite.